Amazon Echo using Raspberry Pi – Make a DIY Affordable Alexa Device
Amazon Echo using Raspberry Pi
Amazon Echo is a brilliant piece of technology to use. It’s useful to have one around; it can play music for you, take reminders and notes. Not just these; it can even control TV, phones, and computers.
But affording one can be an expensive choice for many of us. It costs around $50 – $150. So, if you are not sure whether you’ll actually use it or not? It would be better to find some other alternatives to this.
What if I say a $35 Raspberry Pi can work as far similar as the Amazon Echo?
Shocked??
Well, don’t be, because you heard that right. You can make a similar device like an Amazon Echo with your Pi.
Let’s know how to do it.
This is a DIY guide, so make sure you follow it with me.
What you’ll get at the end of this guide?

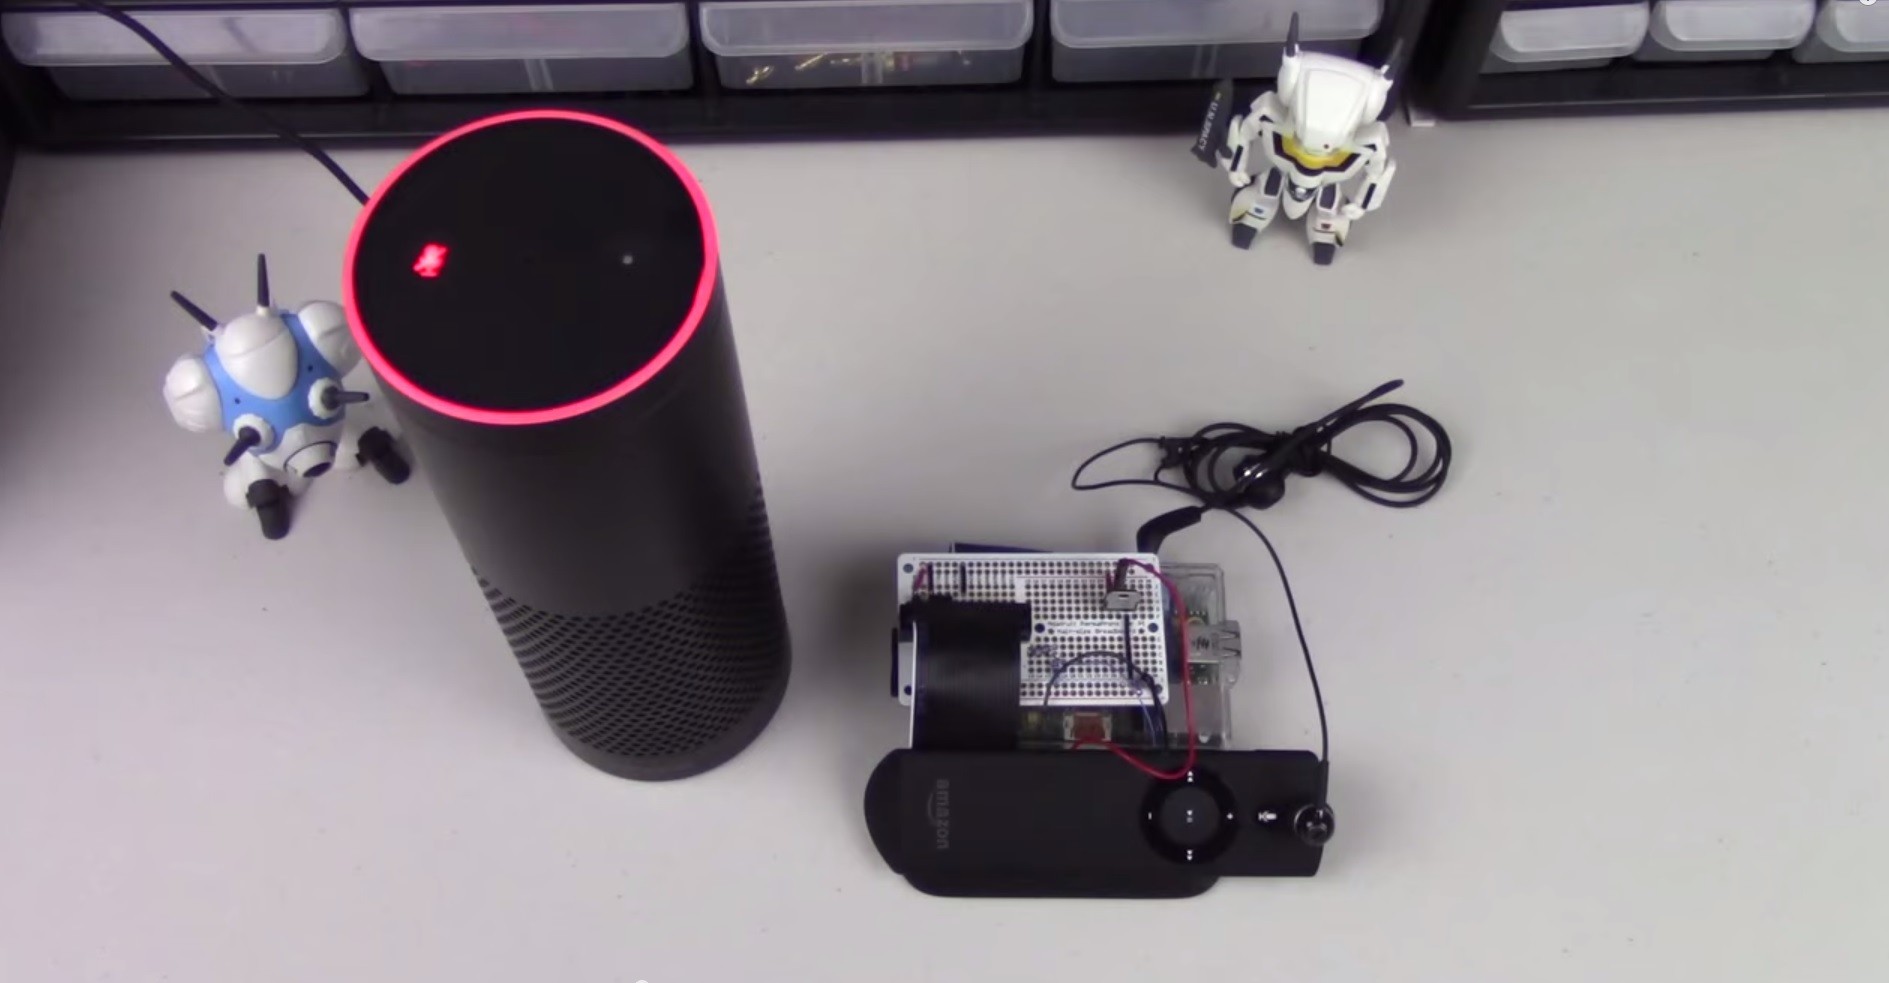
You will get a fully functional device which will be similar to Amazon Echo and will respond to all your voice commands. It can do all the unit conversions, read books for your from Kindle, check the weather, play radio, and tons of other things.
There’s one new version known as Echo Dot which is just $50. The next question which hits your mind is that why to do all this hard work on Pi if I get Echo Dot in $50?
Let’s get it straight. With Raspberry Pi, you can still work on other projects, like a game station, or a media center. So it’s worth giving a try on Pi.
What all you’ll need?
- A Raspberry Pi with Raspbian installed.
- A MicroUSB cable.
- An 8GB MicroSD card.
- A USB Microphone.
- Speakers.
- A Keyboard and Mouse.
Now that you have all the parts mentioned above, let’s get started.
Thorin Klosowski at LifeHacker has written a detailed step-by-step process on how to create your own Amazon Echo with a Raspberry Pi. You can read the full guide here.
If you want to take a quick look, read ahead, we will get into the brief of creating an Amazon Echo with Raspberry Pi.
Step 1 – Register for an Amazon Development Account
This is pretty simple. Before you start making your own Amazon Echo with the Pi, you have to register for a free Amazon Developer Account.
Log in to your Amazon Developer Account and click on the Alexa tab in the top menu. Register your Product Type and click Next. Now, you’ll see a Security Profile go there and Create a new profile.
Once you are done creating your profile, you will be given Client ID, Product ID, and Client Secret.
Next, you need to add your own localhost in the Allowed Origins tab.
Now that you have setup your Amazon Account it’s time to get Alexa up and working on your Raspberry Pi.
Step 2 – Install Alexa
Plug in all your other parts with Raspberry Pi and boot it up. Next, open up Terminal in the Raspberry Pi and type in the following commands which you can find here.
When you are done typing all your commands in the Terminal window, you’ll see a text editor. Here all you need to do is enter your Client ID, Product ID, and Client Secret.
Enter each detail after the “=” sign. Press Ctrl+X to save all your changes.
After saving the changes, you will again be prompted to the Terminal window. Write all the commands given in the full guide and let Alexa install.
It will take around 30 minutes to configure your Pi and install some extra software. Let it do its thing.
Step 3 – Running the Alexa Web Service
Next, you have to run different sets of commands at once in 3 different Terminal windows. You’ll have to create a new Terminal window for each of these steps. Don’t close any window.
Open Terminal window and type in all the commands from the full guide. Once successfully done, it will open up a port to communicate with Amazon. Keep this window open.
Step 4 – Run the Sample App and Confirm your Account
I hope all your other windows are open. If yes, it’s time to use the second window and if not open a new file by clicking on File -> New Window.
Next, up you need to run a java app which will launch a web browser and registers you the Pi-powered Echo with the Alexa Web Service.
In your Terminal window type in all the commands.
Next, up an authentication window will show up, you need to authenticate your device into it.
After this, log into your Amazon Account. Your device will show an authentication screen. Click Okay, and you are done.
You now have the necessary tokens for your Pi to communicate with the Amazon’s server.
Step 5 – Start your Wake Word Engine
Finally, open a third Terminal window. Here, you’ll start the wake word engine. You can now speak out “Alexa” to make your Raspberry Pi listen your voice. There are two options available for this.
We will use KITT for this guide. Open your Terminal window and type in the commands.
Boom. That’s it. Your DIY Echo is now up and running. Test it out by saying “Alexa.” You should hear a beep indicating that it is listening.
After the beep, you can ask any questions like “what are the latest games” and “Cricket match score” or anything you like.
Step 6 – Improve the Microphone and let your Echo hear you
For improving the quality of Microphone so that it can hear us properly. Let’s head on to the command line once again.
Type in all commands. When done, tap F6 to select different USB device. Tweak the volume according to your convenience.
Now you can easily talk with your Echo device in a normal voice instead of yelling.
Wrap Up
I hope you found this article useful and learned something new today.
Setting up a DIY Raspberry Pi Echo is fun and costs you less money.
Let me know in the comments section whether you liked this DIY guide or not?
Author Bio:
My name is Mandip and I love to tinker with the electronics circuits and create new and useful designs. Sometimes the results come awful, too! I share all my ideas, research, and knowledge on my website. I also love to travel and explore historical places whenever I get suitable time for it. Click here to visit my website.
Nice post. I think Amazon Echo is useful to have around the home. It can play podcasts, take reminders and notes. Mandip you have nicely articulated.
Thanks for appreciating our writers and their work
[…] Also Check: How to make an Amazon Echo, DIY […]